
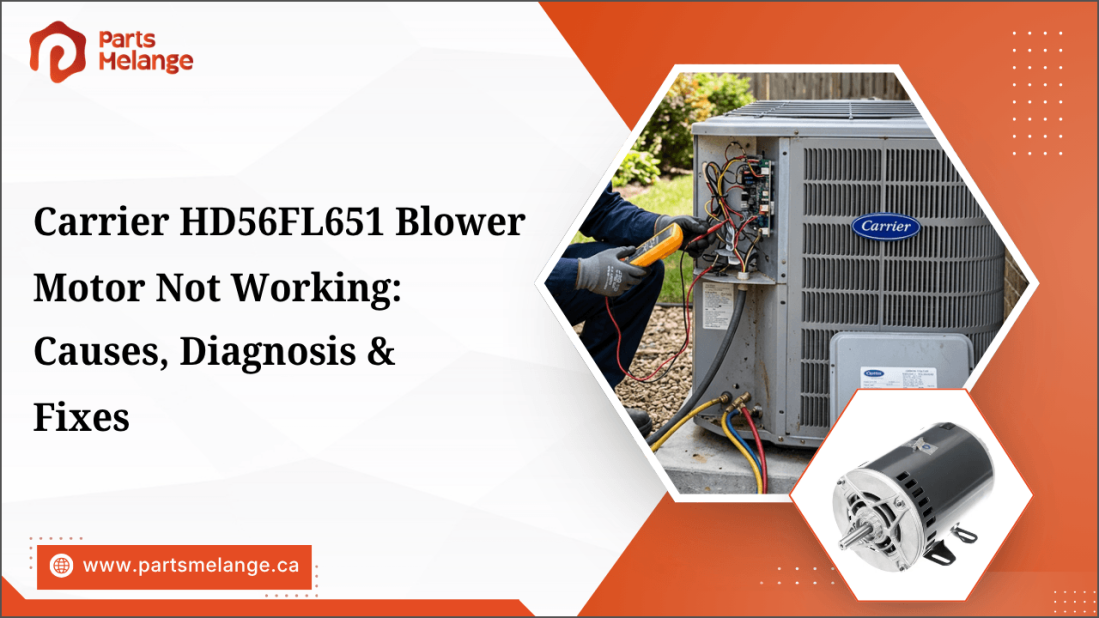
The Carrier HD56FL651 blower motor is a three-phase motor used in compatible Carrier HVAC equipment. Available specifications identify it as a 1725 RPM motor, with versions listed for 208/230/460V operation, so incorrect power supply, wiring, mechanical resistance, or motor failure can all cause a no-blower condition.
When the blower stops working, the problem is not always the motor itself. Checking the electrical supply, motor connections, blower wheel, and operating condition can help identify the actual cause before replacing the Carrier HD56FL651 blower motor.
This guide explains the common causes, diagnostic steps, repair options, and preventive measures for a Carrier HD56FL651 blower motor that is not working.
Why Is the Carrier HD56FL651 Blower Motor Not Working?
The Carrier HD56FL651 blower motor may stop working due to power loss, wiring faults, capacitor failure where applicable, airflow problems, or a failed control component. Before replacing the motor, identify whether the issue is preventing power from reaching it or preventing the blower assembly from operating correctly.
The symptoms can help identify which component needs closer inspection.
No electrical power: A tripped breaker, blown fuse, open disconnect, loose wire, or damaged connector can prevent voltage from reaching the motor.
Failed capacitor: If the motor receives power but hums, struggles to start, or starts intermittently, a weak or failed capacitor may be responsible when the system uses a separate capacitor.
Motor winding failure: Burned or open windings can stop the motor completely. A burning smell, discolored wiring, repeated breaker trips, or abnormal electrical readings can indicate internal motor damage.
Locked blower wheel: Dirt, ice, debris, a displaced component, or a worn bearing can prevent the blower wheel from rotating and place excessive load on the motor.
Blocked airflow: A heavily loaded filter, dirty evaporator coil, or obstructed return can increase resistance and make the blower work harder.
Control or relay failure: A thermostat call may be present while a faulty relay or control circuit fails to send the required operating command to the blower.
Loose or damaged wiring: Loose terminals, damaged conductors, or overheated connectors can interrupt power and cause intermittent or complete blower failure.
The next step is to determine whether the problem is electrical, mechanical, or motor-related. Checking the power supply, wiring, blower wheel, and applicable Carrier blower motor parts can narrow down the fault before a replacement is installed.
Keep your HVAC system operating efficiently with quality home appliance replacement parts from PartsMelange. Find HVAC replacement parts such as compatible blower motors, capacitors, control components, and more to help address airflow problems, motor failures, and other common HVAC issues.
How to Diagnose a Carrier HD56FL651 Blower Motor Problem
Carrier blower motor troubleshooting starts with identifying whether the motor is not receiving power, receiving power but failing to run, or running without producing proper airflow. Follow the checks in order so you do not replace a working motor when the actual problem is in the wiring, controls, capacitor, or blower assembly.
Step 1: Confirm the Blower Symptom
Start the system and observe what happens when there is a heating or cooling call.
No sound or movement: Check the electrical supply, controls, wiring, and motor.
Humming but not rotating: Inspect the capacitor where applicable and check whether the blower wheel is seized.
Starts and stops: Look for overheating, loose connections, excessive mechanical resistance, or motor thermal protection.
Runs but airflow is weak: Inspect the filter, blower wheel, evaporator coil, return-air path, and motor operation.
Identifying the exact symptom helps narrow the diagnosis before electrical components are tested.
Step 2: Check the Electrical Supply
Turn off power before inspecting wiring. When testing requires energized equipment, use appropriate electrical safety procedures and verify the voltage against the equipment specifications.
Check the circuit from the power source toward the motor, including the:
Breaker or disconnect → fuse → control/relay → wiring → motor terminals
If the required voltage is not reaching the HD56FL651, repair the electrical or control problem rather than replacing the motor.
Step 3: Inspect the Motor Wiring and Connections
Look closely at the motor terminals, connectors, and wiring. Check for loose terminals, burned insulation, melted connectors, corrosion, or damaged conductors.
A loose connection can create electrical resistance and heat, resulting in intermittent blower operation or eventual motor failure. Repair damaged connections before continuing the diagnosis.
Step 4: Check the Blower Wheel
Disconnect electrical power and manually rotate the blower wheel. It should turn smoothly without scraping, binding, or excessive side-to-side movement. A clean blower wheel supports proper airflow and reduces motor load.
If the wheel is difficult to turn, inspect it for accumulated dirt, foreign objects, damaged blades, shaft problems, or bearing wear. A restricted wheel can make the motor work harder and cause overheating.
Step 5: Test the Capacitor Where Applicable
If the Carrier configuration uses a separate blower capacitor, test its capacitance with an appropriate meter and compare the reading with the specified rating.
A defective capacitor can cause humming, delayed startup, intermittent operation, or reduced motor performance. Replace it only with the specified capacitance and appropriate voltage rating.
Step 6: Check the Motor Condition
If the motor receives the correct electrical supply and the blower wheel turns freely, the motor itself becomes a stronger suspect.
Look for:
Excessive operating temperature
Burning odor
Unusual bearing noise
Shaft movement
Damaged insulation
Abnormal operating current
Repeated thermal shutdown
Use the applicable Carrier equipment specifications for electrical testing. A continuity check alone does not confirm that the motor can operate correctly under load.
Step 7: Check Airflow Restrictions
If the blower runs but airflow remains weak, inspect the air filter, return-air opening, evaporator coil, blower wheel, and accessible ductwork.
A severely restricted airflow path can increase blower load and contribute to overheating. Correcting the restriction may restore airflow without replacing the motor.
Once these checks are completed, you can separate a power or control fault from a mechanical restriction or actual HD56FL651 motor failure. This prevents unnecessary Carrier blower motor replacement and provides a clearer path to the correct repair.
When replacement is necessary, using compatible Carrier HVAC parts can help restore reliable system operation.
How to Fix Carrier HD56FL651 Blower Motor Problems
The correct fix for a Carrier HD56FL651 blower motor problem depends on the confirmed cause. Repair the electrical circuit, replace a failed capacitor where applicable, remove blower restrictions, or replace the motor if testing confirms internal failure.
1. Restore the Electrical Supply
If the motor is not receiving the required voltage, first correct the electrical fault. Check the breaker, disconnect, fuse, control circuit, relay, wiring, and motor connections.
Do not repeatedly reset a breaker that trips when the blower starts. A recurring trip can indicate a shortened motor, damaged wiring, or excessive mechanical load that needs to be identified before the system is returned to service.
2. Repair Damaged Wiring and Connections
Replace damaged wires, loose terminals, burned connectors, or corroded connections with components suitable for the equipment.
A connection that shows signs of overheating should not simply be tightened or replaced without checking the cause. High resistance at a terminal can generate heat and cause the new connection to fail again.
3. Replace a Failed Capacitor Where Applicable
If testing confirms that the system's separate blower capacitor has failed, replace it with one having the specified capacitance and appropriate voltage rating. A properly matched capacitor supports smooth motor startup and consistent operation.
A capacitor with the wrong capacitance can cause starting problems, excessive current, or poor motor operation. Confirm the equipment requirements before installation rather than matching the replacement by physical size alone.
4. Remove Blower Wheel Restrictions
If dirt or debris is preventing the blower wheel from turning freely:
Disconnect electrical power.
Remove the required access panel.
Inspect the blower wheel and housing.
Remove accumulated dirt and foreign objects.
Check for rubbing, damaged blades, or incorrect wheel positioning.
Inspect the shaft and bearings for mechanical problems.
Rotate the wheel by hand to confirm smooth movement.
If the wheel remains difficult to turn after cleaning, the motor, shaft, bearings, or blower assembly may require further repair.
5. Correct Airflow Restrictions
If the blower operates but produces insufficient airflow, inspect the filter, return-air opening, evaporator coil, blower wheel, and accessible ductwork.
Replace an excessively dirty filter with the correct specification and clean components that are restricting airflow. Correcting these restrictions reduces the load placed on the blower motor and can prevent overheating.
6. Replace the HD56FL651 Blower Motor
If the motor receives the required electrical supply, the controls and connections are functioning, the blower wheel turns freely, and testing confirms motor failure, replace the HD56FL651 with a compatible motor.
Before installation, verify:
Voltage and frequency
Motor output or horsepower rating
RPM or speed configuration
Rotation direction
Shaft dimensions
Mounting arrangement
Electrical connections
Capacitor requirements, if applicable
A motor that fits physically but has different electrical or performance characteristics can produce incorrect airflow, excessive current draw, or overheating.
7. Test the System After Repair
After completing the HVAC blower motor repair, restore power and run the HVAC system through the appropriate operating cycle. Confirm that the blower starts correctly, rotates in the required direction, produces normal airflow, and does not make unusual noise or overheat.
If the motor continues to trip protection, run intermittently, or produce weak airflow after repair, stop operation and investigate the remaining electrical, mechanical, or airflow problem rather than repeatedly replacing components.
How to Prevent Carrier HD56FL651 Blower Motor Failures?
Preventing Carrier HD56FL651 blower motor failures requires regular attention to airflow, electrical connections, and the blower assembly. Simple maintenance can help reduce excessive motor load, overheating, and premature component failure.
Replace clogged air filters: Check the filter regularly and replace it when it is heavily loaded with dust. A restricted filter increases resistance and makes the blower work harder.
Clean the blower wheel: Remove dust and debris from the blower wheel to maintain proper airflow and prevent unnecessary mechanical load.
Keep return and supply openings clear: Do not block return grilles or supply outlets with furniture, storage items, or other obstructions.
Inspect wiring and terminals: Look for loose connections, burned terminals, damaged insulation, corrosion, or melted connectors that could cause overheating or intermittent operation.
Check the blower wheel for binding: During maintenance, verify that the wheel rotates smoothly and does not scrape against the housing.
Monitor unusual operating symptoms: Humming, grinding, delayed startup, intermittent operation, excessive heat, or burning odors can indicate an emerging blower problem.
Maintain the evaporator coil: Excessive dirt on the coil can restrict airflow and increase the load on the blower.
Check motor operation during service: Inspect operating current, temperature, shaft condition, and bearing noise when performing scheduled HVAC maintenance.
Regular filter, airflow, electrical, and mechanical checks help keep the HD56FL651 operating within normal conditions and can reduce the risk of premature blower motor failure.
Check out How to Replace an Electric Stove Burner Without Damaging the Cooktop for step-by-step guidance on safely removing and replacing a faulty burner.
Summary: Restore Reliable Airflow by Fixing the Blower Motor Issue Early
A Carrier HD56FL651 blower motor that is not working can result from electrical problems, damaged wiring, a failed capacitor, motor failure, blower wheel restrictions, or poor airflow. Proper diagnosis helps identify the actual cause before replacing any components.
Checking the power supply, wiring, blower wheel, airflow path, and motor condition can lead to the correct repair. Regular filter replacement, blower cleaning, and electrical inspections can also help prevent recurring Carrier blower motor problems.
Key Takeaways
Check the electrical supply before replacing the blower motor.
Inspect wiring, terminals, and controls for faults.
Make sure the blower wheel rotates freely without obstruction.
Test the capacitor where the system uses a separate capacitor.
Replace the HD56FL651 only after confirming motor failure.
Maintain filters, airflow paths, and blower components regularly.
FAQs
How do I know if the Carrier HD56FL651 blower motor is bad?
A bad motor may receive correct voltage but fail to start, overheat, make unusual noises, repeatedly shut down, or show abnormal electrical readings.
Can a bad capacitor cause the HD56FL651 blower motor to stop working?
Yes. Where applicable, a failed capacitor can cause humming, slow startup, intermittent operation, or prevent the motor from starting despite receiving electrical power.
How long does a Carrier HD56FL651 blower motor typically last?
A Carrier HD56FL651 blower motor can last many years with proper maintenance, but its lifespan depends on operating hours, airflow conditions, electrical load, maintenance, and overall HVAC system condition.
Can a dirty HVAC filter shorten the lifespan of the Carrier HD56FL651 blower motor?
Yes. A heavily clogged filter restricts airflow and can make the blower work harder, increasing motor load and operating temperature. Regular filter replacement helps reduce this stress.
What should I check before ordering a replacement Carrier HD56FL651 blower motor?
Before ordering a Carrier HD56FL651 blower motor replacement, check the motor model, voltage, RPM, horsepower, phase, shaft size, rotation, and mounting configuration to ensure compatibility with your HVAC system.
Disclaimer: This blog provides general guidance on Carrier HD56FL651 blower motor problems. Actual issues and repair needs may vary by system configuration. |




Please complete your information below to login.
Sign In
Create New Account