
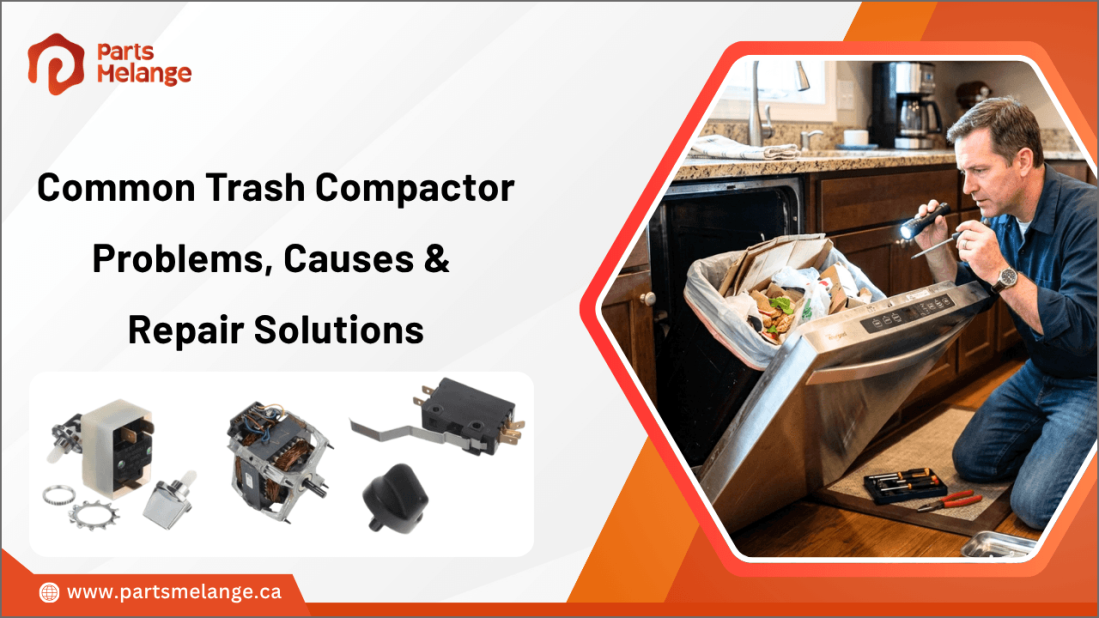
A trash compactor is an essential appliance in many homes and commercial kitchens, helping to reduce waste volume and keep spaces clean and organized. However, when it stops working properly, it can quickly lead to inconvenience, odor issues, and disrupted daily operations. Problems like power failure, jammed components, or weak compaction are some of the most common issues users face.
Understanding what causes these issues is important for quick troubleshooting and effective repair with reliable trash compactor parts. In many cases, the problem may be minor and fixable without major intervention, while other situations may require professional attention.
This blog explains the top problems, causes, and repair solutions for a trash compactor not working.
Common Trash Compactor Problems You Should Never Ignore
A trash compactor is designed to simplify waste management, but when it stops functioning properly, it can quickly disrupt daily operations. Many issues begin as small faults but can worsen over time if not addressed early. Identifying these problems in advance helps avoid costly repairs and ensures smooth performance.
Trash Compactor Not Turning On
The compactor does not respond or start when switched on, leaving the unit completely non-functional and preventing any waste compaction from taking place during regular usage.
Trash Compactor Ram Gets Stuck or Won’t Move
The ram stops during operation or fails to complete its movement cycle, causing interruption in waste compression and making the compactor unable to perform its basic function.
Trash Compactor Makes Excessive Noise
The machine produces abnormal sounds such as grinding, buzzing, or knocking while running, which signals that something is not operating smoothly inside the unit.
Trash Compactor Door Won’t Open or Close
The door becomes difficult to operate or fails to function properly, making it hard to load or remove waste from the compaction chamber safely.
Compactor Fails to Compress Waste Properly
The unit runs but does not compress waste effectively, resulting in poor performance and leaving waste loosely packed instead of tightly compacted.
These problems should be addressed as soon as they are noticed, as early intervention can significantly reduce repair costs and extend the lifespan of the equipment.
Main Causes Behind Trash Compactor Failure
A trash compactor may stop working properly due to continuous use, lack of maintenance, or wear and tear of internal components. Since it relies on both electrical and mechanical systems, even a small fault can affect overall performance and lead to complete failure if not addressed early.
Faulty Power Supply or Damaged Cord
This issue occurs when the compactor does not receive proper power due to electrical faults or damaged connections.
Loose or disconnected power supply
Damaged or frayed electrical cord
Tripped circuit breaker or no power flow
Worn-Out Drive Gear or Motor Problems
Continuous use can weaken the motor or drive system, reducing efficiency or stopping operation completely.
Motor wear from continuous usage
Reduced power or overheating issues
Internal drive system failure
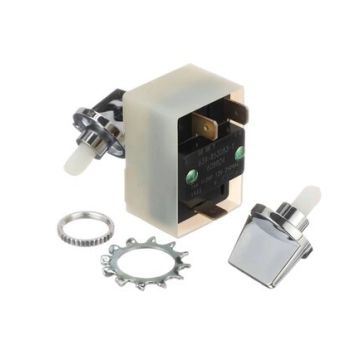
Broken Start Switch or Safety Switch
A faulty switch or safety mechanism can prevent the machine from starting or responding to commands.
Switch not responding when pressed
Faulty safety interlock system
Electrical contact failure inside the switch
Damaged Chains, Belts, or Rollers
Mechanical parts may wear out or misalign over time, affecting smooth internal movement.
Worn, loose, or broken belts/chains
Misaligned or stuck rollers
Interrupted smooth mechanical movement
Overloaded Trash Compactor System
Exceeding capacity puts excess strain on the system and leads to frequent breakdowns.
Excess waste beyond the capacity limit
Overstrain on the motor and components
Frequent jamming and reduced efficiency
These causes often develop gradually, and timely maintenance along with replacing worn or faulty components can help improve performance, prevent unexpected breakdowns, and extend the lifespan of the trash compactor.
Step-by-Step Trash Compactor Troubleshooting Tips
When a trash compactor stops working, the issue is often caused by simple problems like power loss, door issues, or minor blockages. A quick step-by-step check can help you identify the cause and decide whether it needs a basic fix or professional repair.
Step 1: Check the Power Supply
Make sure the unit is plugged in properly and the outlet is working. If there is no power, check the circuit breaker and reset it if needed.
Step 2: Inspect the Door and Safety Switch
Ensure the door is fully closed and locked. Check for anything blocking the latch and confirm the safety switch is not stuck or misaligned.
Step 3: Look for Blockages
Open the chamber and remove any jammed waste or foreign objects. Clear debris around the ram area to ensure smooth movement.
Step 4: Test the Control Panel
Check if the buttons respond and look for error lights. If available, try resetting the control system.
Step 5: Listen for Unusual Sounds
Run the unit briefly and listen for grinding or buzzing noises. If anything unusual occurs, stop the machine immediately.
Following these steps can help you quickly identify the issue and determine if professional service is required.
When to Call a Professional Technician for Trash Compactor Repair
Some trash compactor issues go beyond basic troubleshooting and need expert help to prevent damage or safety hazards.
The compactor does not start, even after checking the power and switches
The motor runs, but the ram does not move or works inconsistently
Burning smell, smoke, or frequent circuit breaker trips occur
Internal parts like gears, belts, or the control board appear damaged
Problems continue even after basic troubleshooting
If you notice any of these signs, it’s best to contact a qualified technician for safe and proper repair.
Trash Compactor Repair Solutions and Maintenance Tips for Long-Term Performance
Proper repair and regular maintenance are essential for keeping a trash compactor running efficiently for years. Addressing minor issues early and following basic maintenance practices can help prevent major breakdowns, improve performance, and extend the lifespan of the unit.
Replace Worn or Damaged Parts: Timely replacement of faulty components helps restore smooth and reliable operation.
Replace damaged switches, belts, or gears
Repair worn rollers or moving components
Inspect electrical parts for visible damage
Clean the Compactor Regularly: Routine cleaning prevents buildup that can affect performance and hygiene.
Remove trapped waste and debris frequently
Clean the RAM and compaction chamber
Wipe door seals and latch areas properly
Avoid Overloading the Unit: Using the compactor within its recommended capacity reduces stress on internal parts.
Do not exceed waste capacity limits
Avoid compacting hard or unsuitable objects
Distribute waste evenly inside the chamber
Inspect Mechanical and Electrical Components: Regular inspections help identify issues before they become serious failures.
Check cords and switches periodically
Inspect belts, chains, and rollers for wear
Monitor drive motor performance for overheating or slow operation
Listen for unusual sounds during operation
Schedule Professional Maintenance: Professional servicing helps maintain long-term efficiency and operational safety.
Perform routine servicing when needed
Address recurring issues immediately
Replace failing components before a complete breakdown
Following these repair and maintenance practices can improve reliability, reduce downtime, and help ensure long-term performance of trash compactor.
Conclusion: How to Keep Your Trash Compactor Running Efficiently
A trash compactor can greatly improve waste management efficiency when it is properly maintained and used correctly. However, issues such as power failure, jammed components, unusual noises, or poor compaction can affect its performance over time. Identifying these problems early and following basic troubleshooting steps can help prevent costly repairs and unexpected downtime.
Regular cleaning, avoiding overloading, and inspecting important components are some of the best ways to maintain long-term performance. While minor issues can often be resolved with simple fixes, professional repair may be necessary for serious mechanical or electrical failures. Proper care and timely maintenance can help keep your trash compactor operating safely and efficiently for years.
Key Takeaways
Identify trash compactor problems early to avoid major breakdowns
Regular maintenance helps improve efficiency and equipment lifespan
Avoid overloading the compactor to reduce strain on internal components
Clean the chamber and moving parts frequently for smooth operation
Call a technician for recurring or complex repair issues
Shop reliable trash compactor replacement parts and quality home appliance parts at PartsMelange to keep your appliances running efficiently. Find quality parts such as switches, motors, power nuts, and retainer brackets to improve performance, reduce downtime, and extend equipment life.
FAQs
How do I reset a trash compactor?
To reset a trash compactor, unplug the unit or switch off the circuit breaker for a few minutes, then restore power. Some models may also have a dedicated reset button or control panel reset option.
Why did my trash compactor stop working?
A trash compactor may stop working due to power supply issues, faulty switches, jammed components, motor problems, or overloaded internal systems affecting normal operation.
What are common compactor problems?
Common trash compactor problems include the unit not turning on, ram movement issues, excessive noise, door latch problems, and failure to properly compress waste.
How long do trash compactors last?
With proper maintenance and regular cleaning, most trash compactors can last around 10 to 15 years, depending on usage frequency and overall equipment quality.
| Disclaimer: This blog is for informational purposes only and is intended to provide general guidance on common trash compactor problems, causes, troubleshooting, and maintenance tips. Repair procedures may vary depending on the brand and model of the appliance. |




Please complete your information below to login.
Sign In
Create New Account